Did you know that MICDS has a fully-equipped and frequently-utilized darkroom? In a day and age where technology has made the production of digital photos instantaneous, Upper Schoolers have the opportunity to dial back the process and slow things down as they take and produce photos in our Darkroom Photography course. Under the direction of photographer, Upper School Fine Arts Teacher, and Messing Gallery Director Denise Douglas, students learn about the many components at play in creating great photos, and they gain hands-on experience in capturing and printing photos in this more manual, calculated, and thoughtful process.
“Darkroom Photography is my favorite class to teach,” said Douglas. “Not only do the students get a unique experience not often available at this education level, but this class forces students to slow down and understand that each step in the process (taking the photo, processing the film, and printing the photos) has an impact on the final product. It’s a great lesson that covers many things in life. Because we are working with black and white photos, Darkroom Photography also helps students compose better photographs. We respond to color first and the image second. Removal of color forces us to consider the subject for its compositional qualities, and we become more in tune with what makes a good photograph.”
Shedding Some Light on the Darkroom
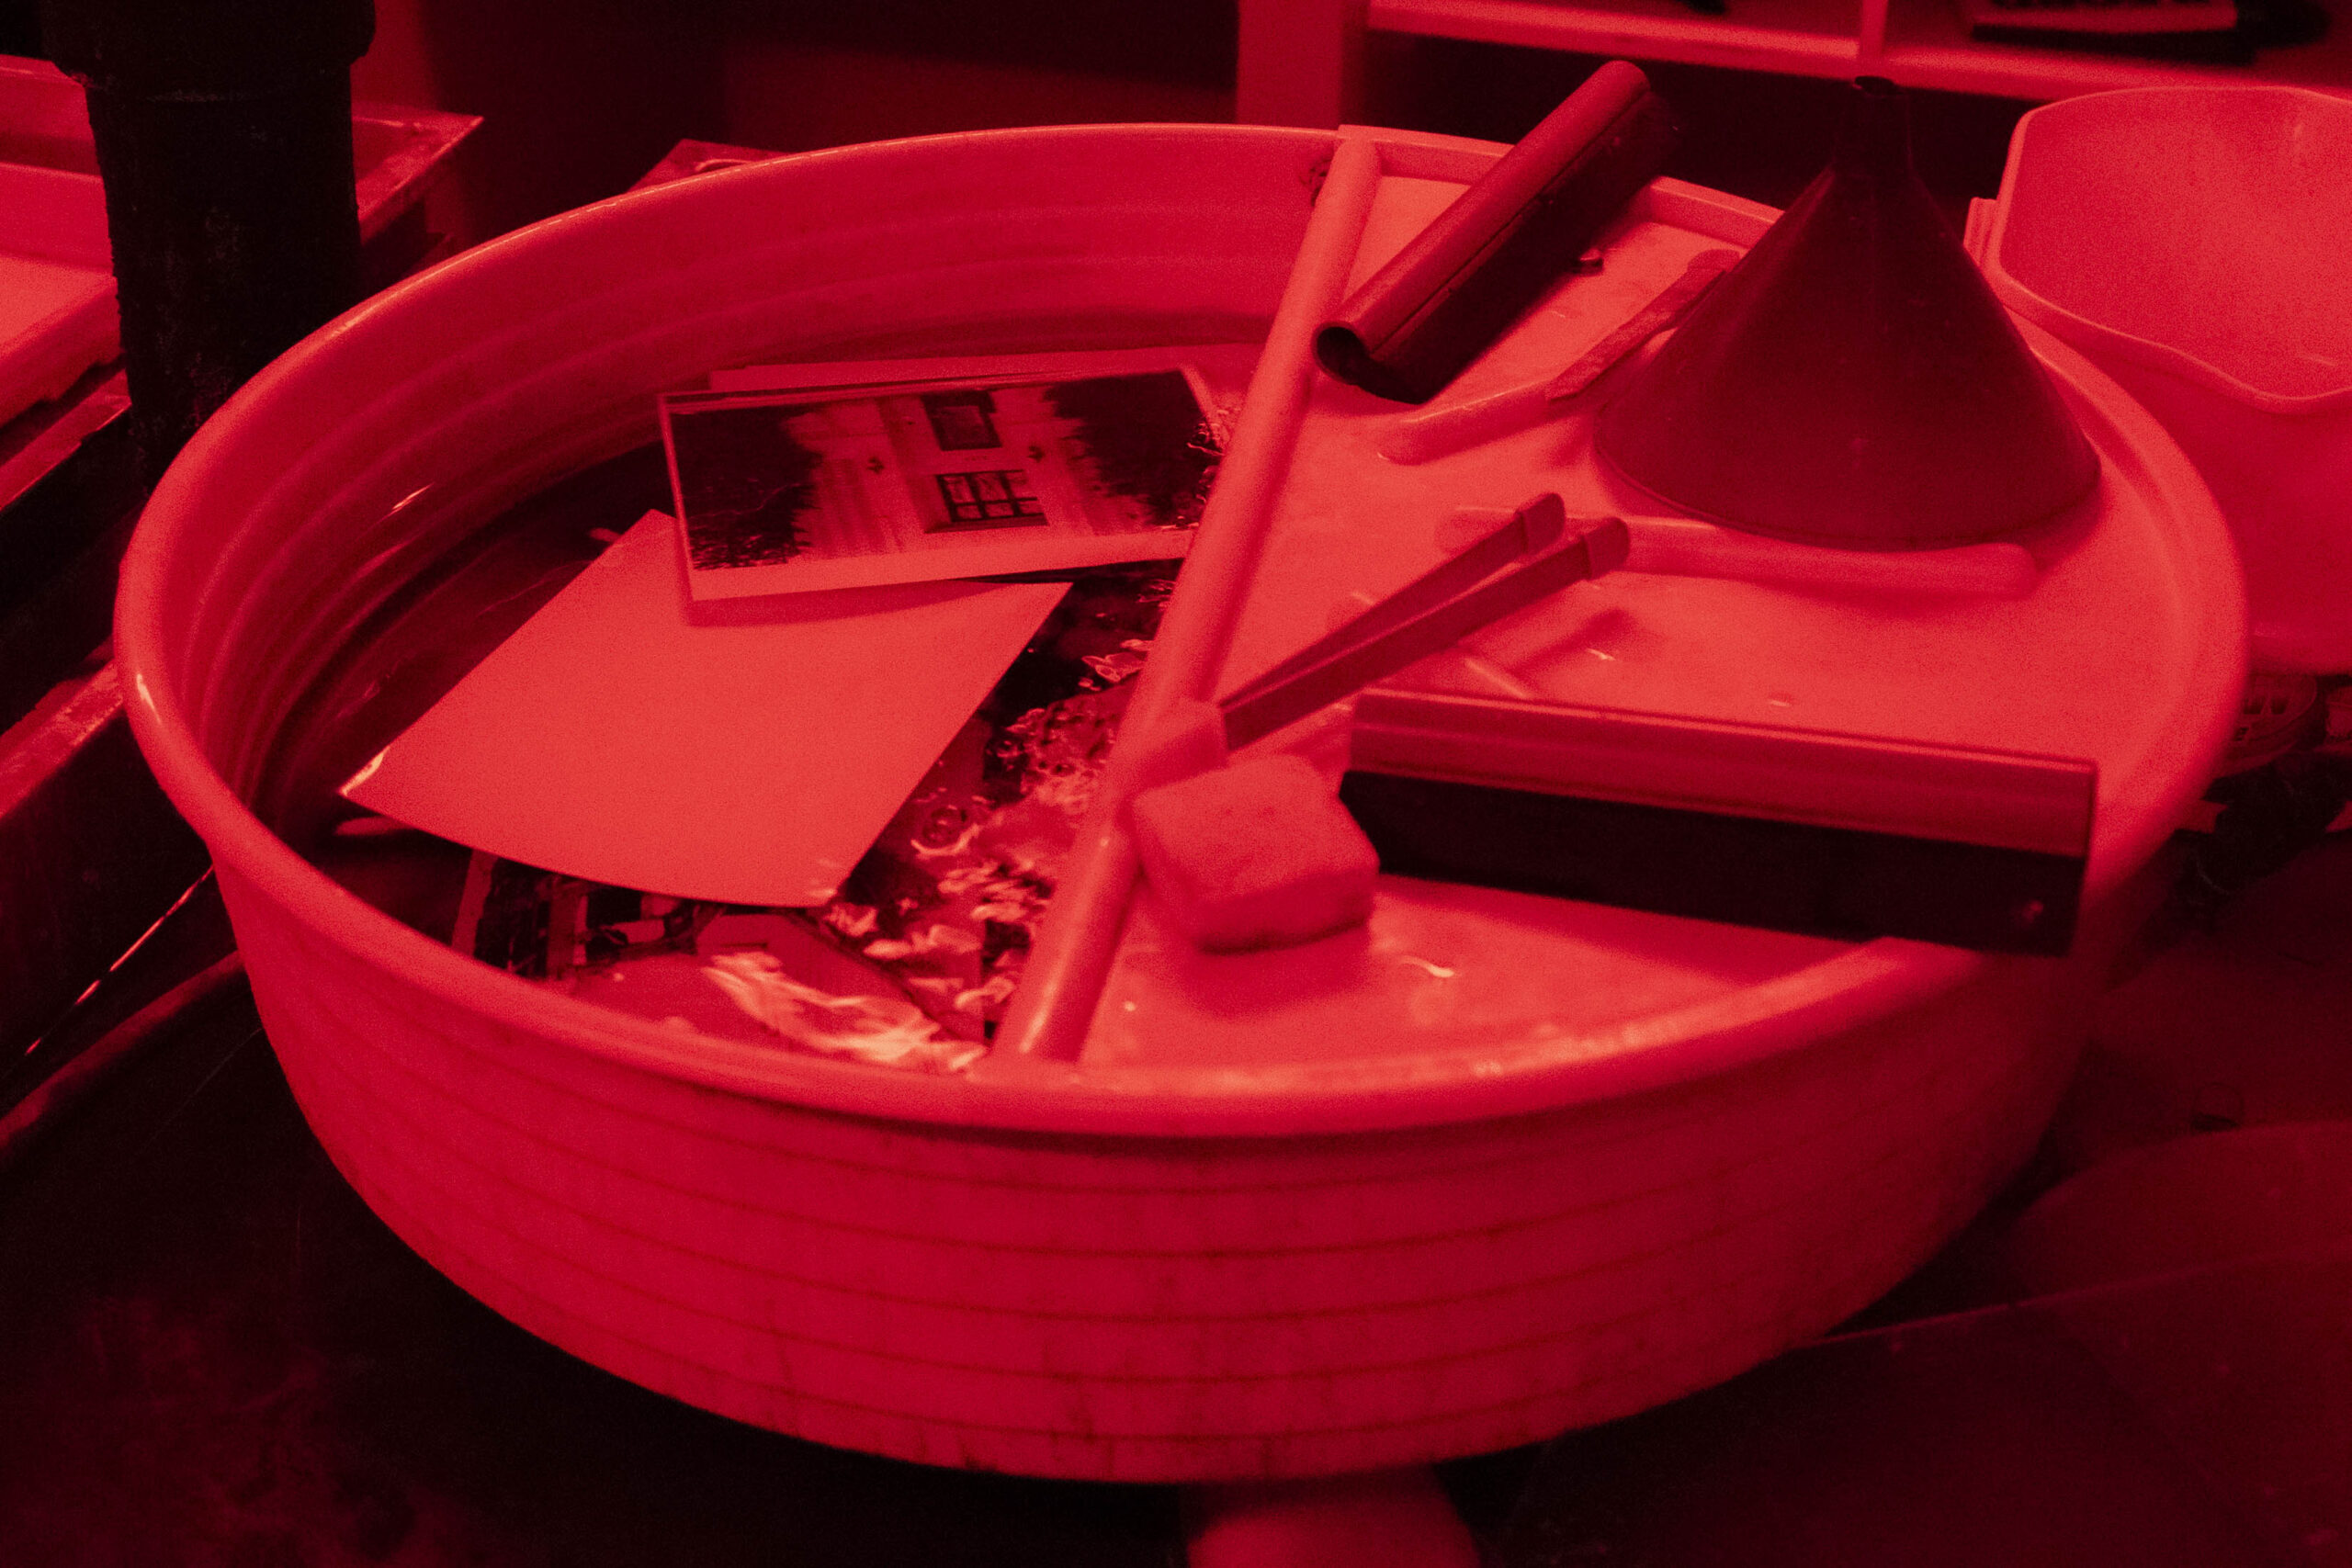
The Upper School Darkroom Photography Lab, home to the Darkroom Photography class, is set up with 14 stations, each with an enlarger to project and make prints on paper. Students have access to Canon film cameras, camera bags, paper, and film, which they develop themselves. After taking their photographs and developing the film, they work under the red safelight in the darkroom to print their images. In addition to the enlargers, they use darkroom trays with a developer where the chemical reveals the image, a stop bath to halt the development, and a fixer to make the photo permanent and light-resistant. Next, the photo is rinsed in a water bath before being placed on the drying rack. In this room and class, students learn all about how to take a proper photo and develop an appreciation for light and process.
A Sample Lesson: Street Photography
Over the past two weeks, students took their evolving photography skills to the streets. Douglas challenged them with a Street Photography lesson. What is Street Photography? It’s a genre of photography where the photographer tries to capture candid, organic, unposed moments of everyday, real life in public environments. After this lesson was introduced on a Friday, the students were tasked with taking photos over the weekend in a public space. While the word “street” in street photography implies photographing areas with roads or sidewalks, it more broadly refers to any public area. Essentially, students could go to any public space—the Greater St. Louis area was their photography playground!


If you were tasked with this lesson, where would you capture your street photography images? Our Darkroom students went to the St. Louis Zoo, the Loop, and downtown Kirkwood, to name a few of their photoshoot locations. Then, they put the advice of Douglas to work:
- Focus on people in a public setting.
- Get close—zoom in as much as possible.
- Hang around in one area and let the scenes come to you—be patient!
- Don’t rush yourself. You may miss a great opportunity.
Douglas also reviewed the laws regarding taking photographs in public so that students could go about their assignment with confidence. Students were taught how the First Amendment protects the right to photograph and document events in public spaces, and they were reminded that owners of private property can restrict photography on their premises.
Next, the class viewed some slides of sample street photographs for inspiration. Then, they critiqued past photos taken in the course, analyzing how to improve each picture to be the best it can be so that they could improve their skills in this lesson. They noted the different exposure levels and the various angles at which photos were shot. After the kickoff, they were headed into the weekend with their cameras at the ready.
“For the Street Photography lesson, I went to downtown Kirkwood and took photos primarily of a crowd boarding the Amtrak train,” said Daniel Haas ’27. “One challenge I faced was the limited number of people out and about since it was a Sunday with mediocre weather. I also found it interesting how some people tend to shy away from a camera in public—it made me more aware of how photographers have to be respectful and patient. One of the biggest highlights of the lesson was becoming more comfortable using the camera in a public setting.”
“I went to the Loop,” shared Willa Johns ’28. “It was challenging at first to feel comfortable getting close to people for photos, but it pushed me to step outside my comfort zone and try something new.”
Samantha O’Neil ’28 said, “It was challenging to find a good photo and take it quickly without the person knowing you were taking a photo of them. It was very interesting to see the variety of people we saw and photographed. I feel like this shoot really captures how people live their lives differently, and it shows that everyone’s story is different and that it is important to be aware of how others live.”
After taking their photos over the weekend, students brought in their film to process it, hanging it for two hours to dry. At the next class, they began printing, first making a contact sheet, which helps them decide which photos are the best ones to print. This is followed by printing. The goal of each lesson is to produce five photos.
“When they’re printing each individual print in the darkroom, they have to do test strips to figure out the proper exposure that that particular scene needs,” said Douglas. “They can try different segments of exposure. Once they have the correct exposure, they print the photo, and hopefully, they have the right reading. Sometimes it’s a little bit off depending on where they put their test strips, so they might have to make an adjustment and rerun the print.” At the conclusion of the two weeks, they turn in their final five photos and are introduced to their next assignment.


Throughout this year-long class, the students have mastered a variety of lessons. At the beginning of the school year, they did a lot of printing to understand the camera; they had a shutter speed assignment and an aperture assignment. They dove into lessons on different photography genres, covering landscape, architecture, botanical, and vintage photographic processes such as cyanotype prints, hand-coloring, and sepia toning. They even got to shoot with a 100% plastic Holga camera, which has no exposure control. For their final lesson, they’ll print their favorite photos from the year to put them together in a portfolio.
As the class finishes up for the school year, some students took the time to share how this darkroom course has brought to light new points of view and a deeper understanding of photography. “This class has taught me the importance of seeing things from different perspectives,” Johns reflected. “I’ve also gained a deeper appreciation for photography and the creative process involved, especially when working in the darkroom.”
“This assignment made me realize that photographers are trying to capture stories rather than just photos,” said O’Neil. “Darkroom is a really fun class that is different from most art classes, yet you can still be super creative.”
Check out a few of the final Street Photography photos below! Thank you, Ms. Douglas, for teaching and inspiring these student photographers in the darkroom!


